The word “remote” is what defines our world of today. Chances are one day you might be using your computer to record an interview video for a job application or using Skype to interview a remote guest online for your podcast episodes, etc.
So, to be able to record an interview with both high-quality audio and video matters a great deal.
This guide will be your A-Z step-by-step walkthrough on how to record an interview with superb audio and video quality using Mac. We will cover essentials from interview recording equipment, recording software to a user-friendly video editor you can use.
Contents:
Record an Interview with High-quality Audio and Video for an Individual
If you are a job hunter and are asked to send a video resume to HR, then using Mac and its built-in QuickTime player to pre-record a video interview should be the top-notch choice. Check the ultimate guide to QuickTime screen recording.
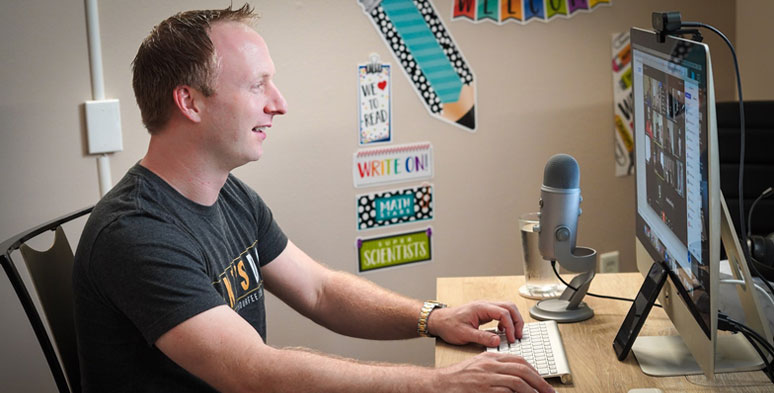
Record an interview video yourself using QuickTime on Mac
Benefit:
However, directly recording an interview video through your integrated webcam or built-in microphone should only be your last resort, since technically the video and audio quality captured by them has no compare even to the most budget-friendly external webcam or clip-on microphone.
To get the flattering visual and audio quality of your interview, you need the following gears:
Recording Equipment You Need
Don’t depend on the screen recorder software to record the HD video. It’s your webcam that truly counts. We have a best-seller on Amazon for you:
Logitech HD Pro Webcam C920x($87.19)
Logitech C920 webcam records full 1080p HD video crisp and vibrant color. It can automatically fine-tune to the lighting condition and produce the razor-sharp image, with a built-in mac. With 78 degrees angel, the webcam is compatible with most video calling apps.
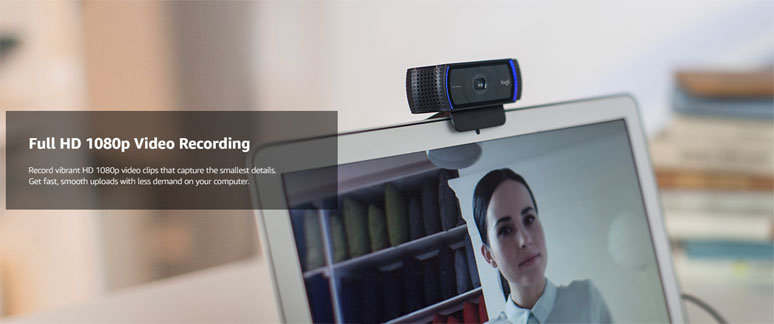
Use a Logitech C920 webcam to record an interview video for yourself
No interview will succeed if the interviewer can’t get what you say. Even the cheapest external microphone works ten times better than a built-in mic. You can start with a super light clip-on mic or high-quality USB microphone like Rode to record your crisp and charismatic voice. Here we have 3 options for you:
1. BOYA by M1 (best-budget clip-on mic, $14.85)
Super light-weight with surprising audio capturing capability, BOYA by M1 is probably the most affordable condenser mic you can get to record your voice. Have one end attached to your cloth, and the other plugged into your Mac or iPhone, that’s it. Extremely easy-to-use if you are always on the go. Check the 5 best Mac screen recorders with audio.
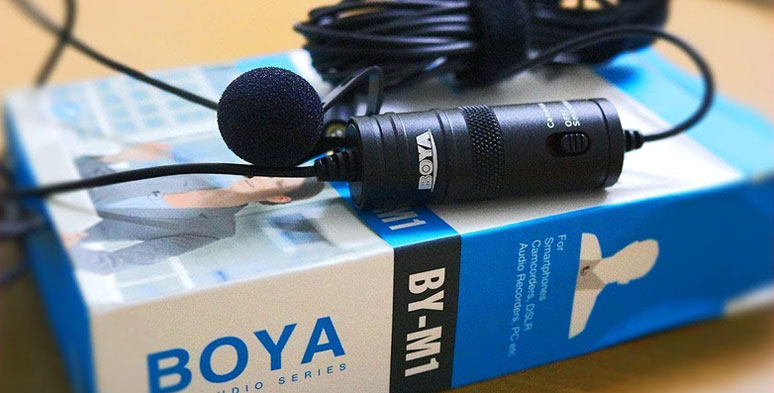
BOYA by M1 clip-on mini mic is extremely easy-to-use with surprising high audio quality
2. Rode NT-USB-Mini USB Microphone($99.00)
Known for producing top-rated microphones, the instant-recognizable brand Rode rarely lets you down. This compact and versatile USB mic is a go-to choice for many to the podcast, do voiceovers and live streaming, etc. You will be impressed by the studio-quality sound it captured as you record your interview video. It also has a built-in pop filter to avoid plosive.
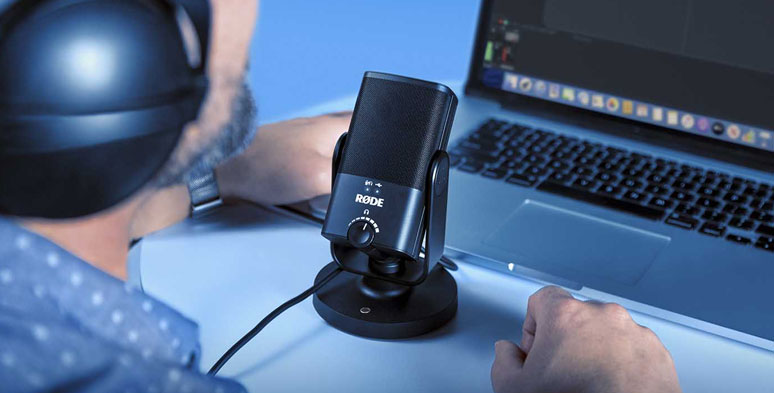
Budget-friendly Rode NT-USB-Mini USB microphone with great audio quality
Anyway, if your mic doesn’t have a built-in pop filter, it’s highly recommended to get one because it can effectively minimize the plosive loud sound if your mouth gets too close to the mic and prevent droplets to the mic as well.
3. HyperX QuadCast - USB Condenser Gaming Microphone ($139.99)
If you have more budget and will use this mic in the long run, then it is worth your every penny to invest in this full-featured gaming mic. With stylish LED light, anti-vibration shock mount, built-in pop filter, and multiple recording modes, HyperX QuadCast can record fantastic audio at 48kHz/16-bit, given the fact that CD quality is only 44.1KHZ/16 bit. Discover the 5 best game recorders online.
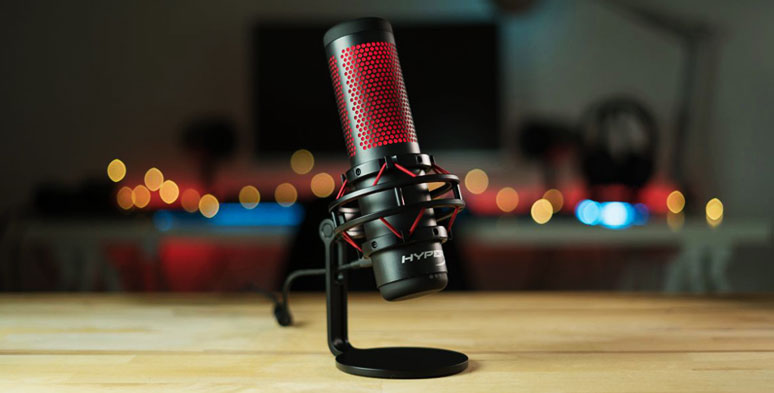
Chic and powerful HyperX QuadCast mic is a great choice for audio recording.
Well, most of the microphone has a detachable stand. So you can place it on the computer desk to record your voice. However, with a foldable arm stand, you can attach your mic to it and easily adjust the height and closeness of the mic to your head. Pretty convenient.
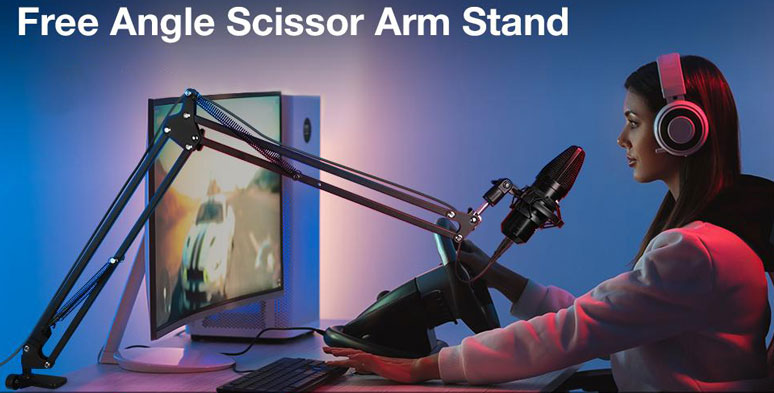
An armstand gives you extra flexibility to record the audio for the interview.
Never underestimate the powering of lighting. It’s a matter of presenting yourself well to the world. Buy an affordable ring light and place it slightly above your Mac right in front of you. It will light up your face with even and flattering light.
If you don’t have time for online shopping, get two lamps on two sides of your mac, it will also do the trick.
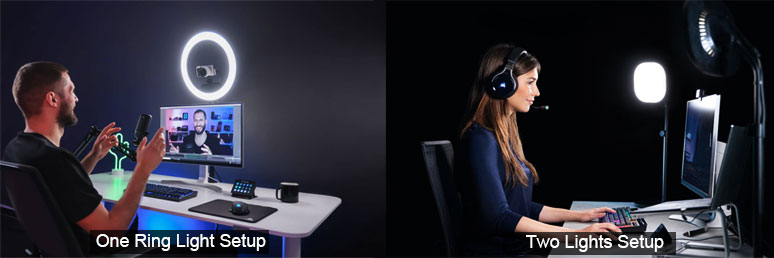
Two different lightings for recording an interview
Audio and Screen Recorder Software You Need
All you need is the QuickTime Player on your Mac.
One thing to mention, please don’t use Zoom to record a video interview yourself?
Why?
For basic plan or free users, the default resolution of Zoom meeting recording stays invariably at humble 360P while you are limited to 40 minutes of recording.
How to Record an Interview Yourself Using QuickTime Player:
When you are done recording, hit the keyboard shortcut "Command +Control + Escape" to stop recording.
Then head back to "File" >"Edit" to trim the unwanted video part. Next hit "File" > "Save" to download the recorded video interview in 1080P.
Record an Interview with High-quality Audio and Video for Two Participants
To record a video interview online involving two participants, like a podcaster or journalist with a remote guest, you need a different strategy to ensure your recorded video interview with high-quality audio and video.
What Ruins the Quality of a Recorded Video Interview
The main issue is in this situation is that you and the guest need to use a third-party video call software or platform for the online chat and video recording. And the audio quality and video image recorded are completely at the mercy of the internet speed and its stability.
Chances are you are very likely to get weird or distorted sound/video or time lag as the audio/video travels through the internet.
Pro Strategy to Record an Interview with High-quality Audio and Video
A widely accepted solution is called the "Double-ender" technique, in which the host and the guest directly record audio to their local computer through their external mic and later sync the two audio tracks and video together to yield the best-quality audio and video for an interview.

Use the “Double-ender” technique to ensure the audio quality during an interview
Recording Equipment Needed
For the guest, since in most cases, they are unprofessional content creators, so just use whatever external mic they have. Here are two easy solutions:
If the guest happens to be an iPhone user, well just plug one end of the iPhone's headphone with a built-in mic into the laptop and the other to their ears and the recorded audio will generate better audio than an internal mic.
While, Voice Memos, a built-in voice recording app on iPhone, is recommended to be used to record guest’s audio during the interview.
There is one of the most traditional and effective ways to get the best audio from the guest. Buy a BOYA by M1 ($14.85) online and have it delivered to your guest's address to record the best audio possible.
For the host or interviewer, apart from the recording gears mentioned above, you need to have:
Having a headphone is so essential as it prevents the gest's voice from being picked up to your mic, resulting in annoying echos or reverberation in the room.
What we recommend are VANKYO C750 wireless Bluetooth headphones ($49.98) and Sony MDR7506 ($99). These two headphones are of great value for money and useful features.
Audio and Screen Recorder Software Needed
The latest Skype version has a built-in recorder that can record a video chat with a simple click.
Record an Interview with High-quality Audio and Video for Two Participants in Detail
Make sure you use a wire connection to the internet, coz it is more stable than a wireless wifi connection.
Remember to select your external mic for recording because by default QuickTime only uses an integrated internal mic for audio recording and choose "High" for recording quality.
Though Skype can both record the video and audio, please bear in mind we only use our local audio recording during the post-processing.
After the recording is done, the host retrieves the audio from the guest through Dropbox or Google Drive, and place video, and separate audio from both host and guest.
Then import video footage, two audio tracks to RecordCas't video editor. Mute the original audio of the video and sync the video with two audio tracks on the timeline.
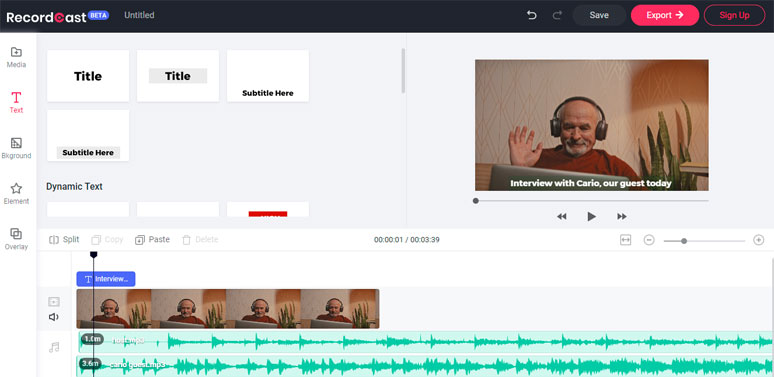
Sync the interview audio files with videos to yield the best interview quality
Of course, if you need more control of audio editing, you may use Audacity and Garageband to edit the audio before importing them to RecordCast's video editor for the final synchronization.
Final Thoughts
So, that's our tips on how to record an interview with high-quality audio and video on Mac. It both works for an individual recording himself or a podcast interviewing a remote guest.
Overall, the key is to use the external mic to record audio locally, stable wired internet connection, and finally sync audio and video together. If you made it through here, don't forget to use the screen recorder and video editor to record a high-quality video interview.

